Creating a CIS Level 1 Hardened AWS AMI
A security baseline configuration defines a set of agreed security configurations that an organization requires to be set during deployment of an infrastructure component such as an operating system. This allows such an organization to implement systems in an efficient and standardized manner as well as ensure that all infrastructure components meet a set of minimum security requirements.
The Center for Internet Security (CIS) provides well-defined industry best practice security benchmarks to help organizations assess and improve their infrastructure security. CIS also provides hardened Virtual Machines (VM) for cloud deployments, which are available at a free from the cloud providers market places, e.g. CIS Amazon Linux 2 Kernel 4.14 Benchmark – Level 1. We can however be able to create our own CIS hardened images for free by following the highlighted steps below.
Step 1: Download, Install and Set Up AWS CLI
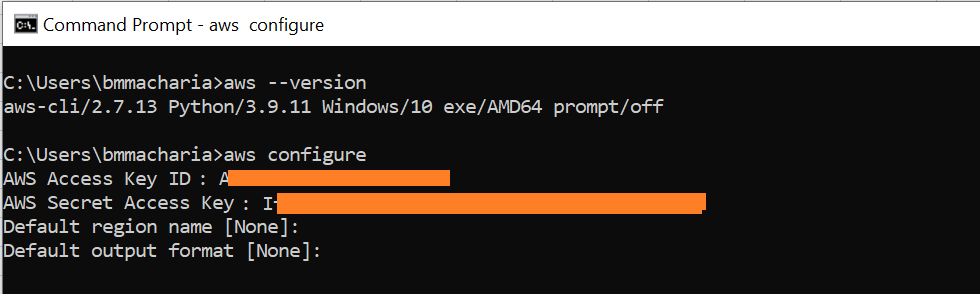
Follow the following steps to set up the latest version of AWS CLI in your local computer. Once done, verify that this is working by running the command aws –version. The result should be something close to the below screenshot.

Step 2: Generate and Setup AWS User Access Key ID and Secret
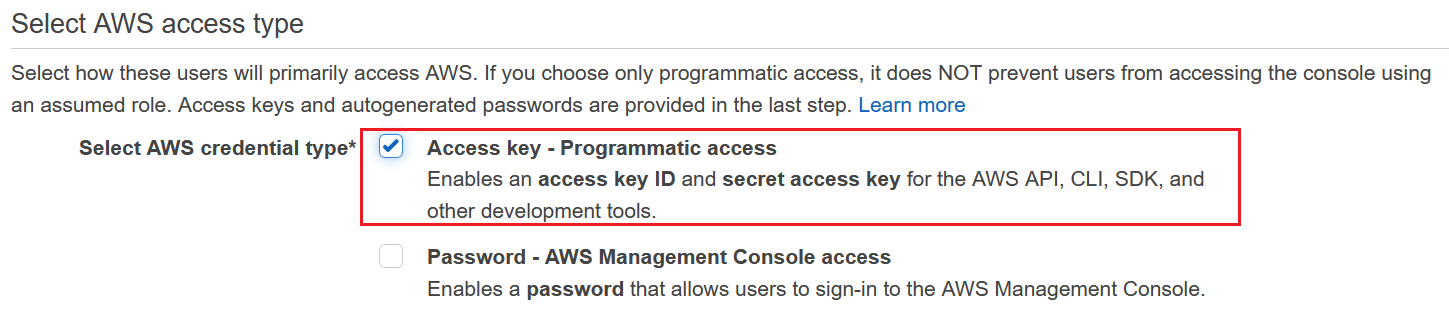
On the AWS console, search IAM and select users. Click on create user button to create a new user with administrative privileges. Under the credential type, remember to select Access key – Programmatic access so as to generate access key ID and secret access key as shown below.
Step 3: Configure AWS User Access Key and Secret
On the terminal run the command aws configure to configure AWS CLI with the user access credentials. When prompted, fill in the Access Key Id and Secret Access Key. The Default region name and Default output format fields can be left empty.
Step 4: Download HCP Packer
Packer is a utility tool for automating the process of creating identical machine images for multiple platforms including cloud and local virtual machines from a single source configuration. Follow the instructions on the getting started page to download the preconfigured packer binary file which comes as a zip file. Extract the downloaded file to a folder in your local computer.
Step 5: Creating the Configuration Files
Packer builds images using template files that define the kind of image to built and how its build. Packer templates use the Hashicorp Configuration Language (HCL). Download and copy all the files from this repository and put them into the same folder as the downloaded packer binary file. The cis-ami.pkr.hcl is template file for building a hardened image.
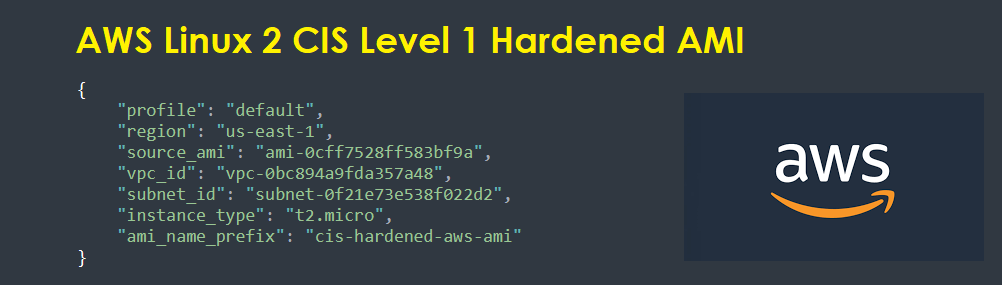
Edit the variables.json file to reflect the region, vpc_id and subnet the AMI will be placed in. Also edit the source_ami and instance_type as illustrated below.

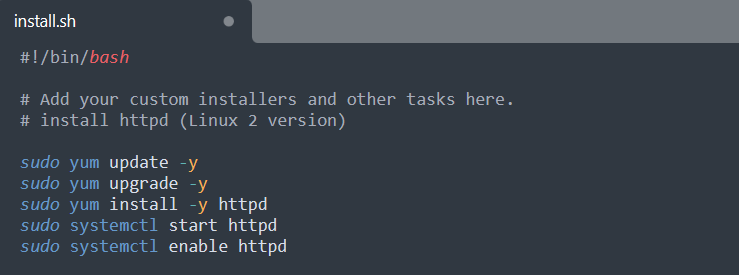
Edit the “scripts/install.sh” file to include the user data scripts that should run when all the ec2 instances built from this AMI boot. For instance, the AMI can be configured to include Apache server installation and start scripts as illustrated below.
The “scripts/hardening.sh” script includes the AMI hardening bash commands. Refer to this documentation on more details about each command.
Step 6: Building the Hardened AMI
Run the following below command to validate that the template is configured without any errors. If ther are no errors, the command result should show “The configuration is valid.”
packer validate -var-file=variables.json cis-ami.pkr.hcl
Execute the following command to build the Amazon Linux 2 CIS Level 1 compliant AMI. An ec2 instance is created within this process, hardened, stopped, AMI created from it and then it’s terminated.
packer build -var-file=variables.json cis-ami.pkr.hcl
Once the process is done for building the AMI, Linux 2 CIS Level 1 hardened ec2 instances can be launched using this AMI.
Refer to the following repository with all this files:- https://github.com/bensonmacharia/cis-hardened-ami